How we ship art and you can too!
Welcome to the procedure we have found to be easy and inexpensive to use for shipping flat art here in the USA. If you are outside the US, you may have similar materials at your home building and craft/art stores. Here is what you are going to need.
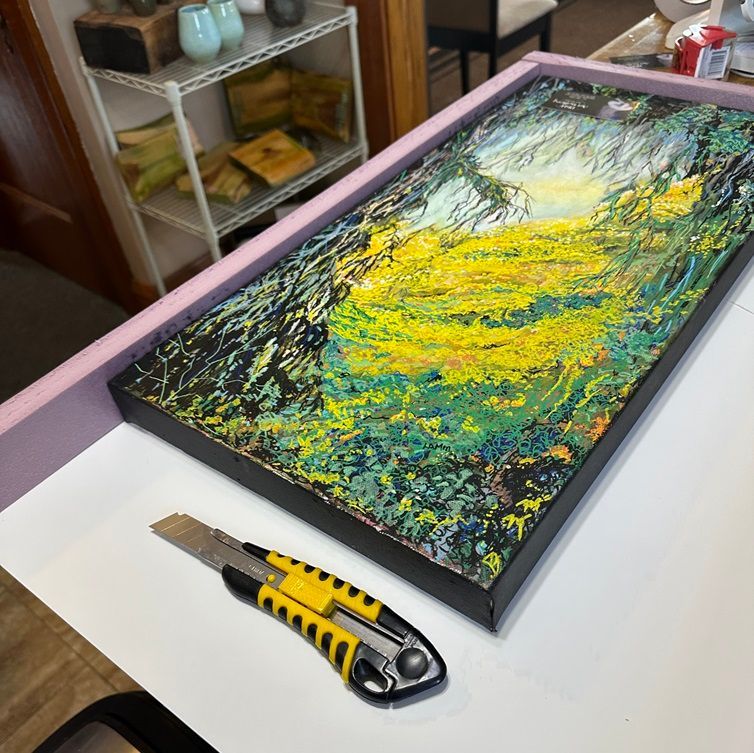
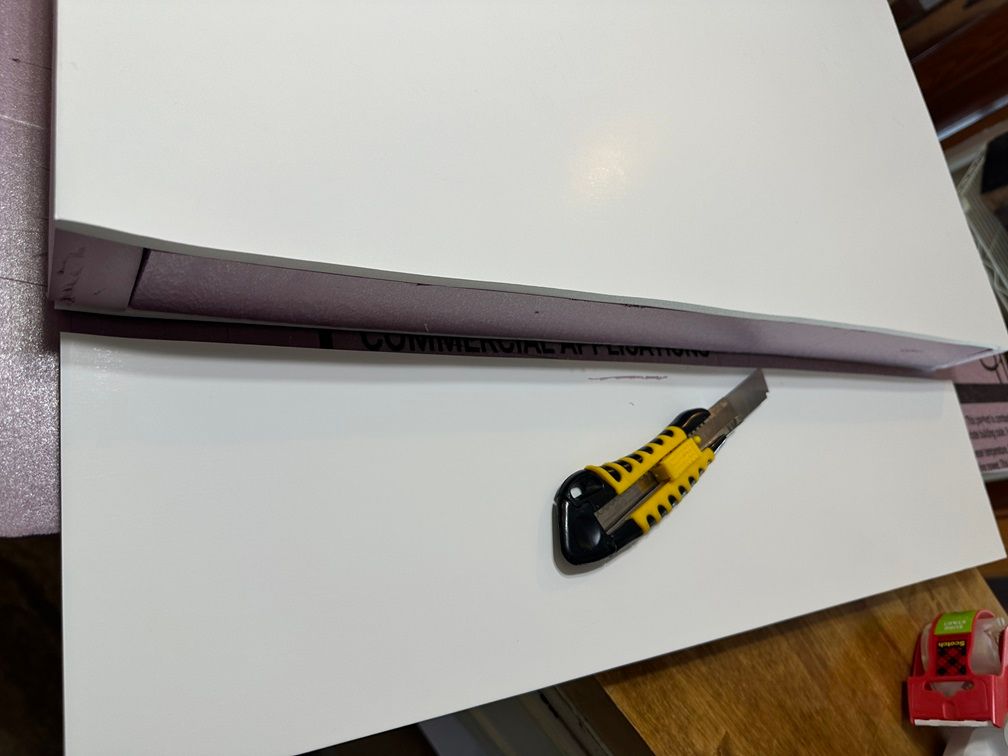
- Box cutter or knife similar to one shown in picture. I recommend the kind that have the break-off blades. As you cut the foam, the blade will dull. You will get more for your money if you break off a section every once in awhile instead of tossing a whole blade. Also, if the blade is dull, it will tear the foam and I always want as smooth as possible surface.
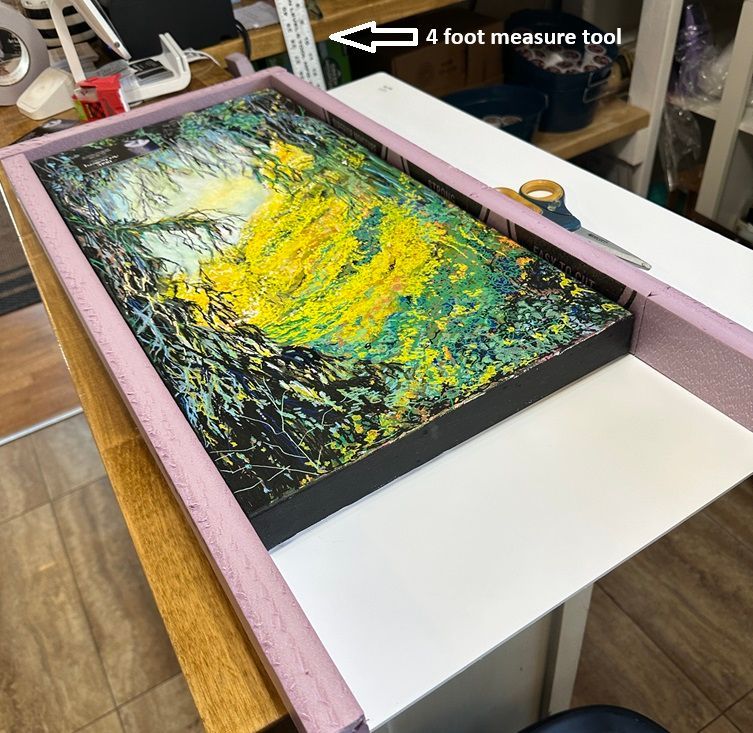
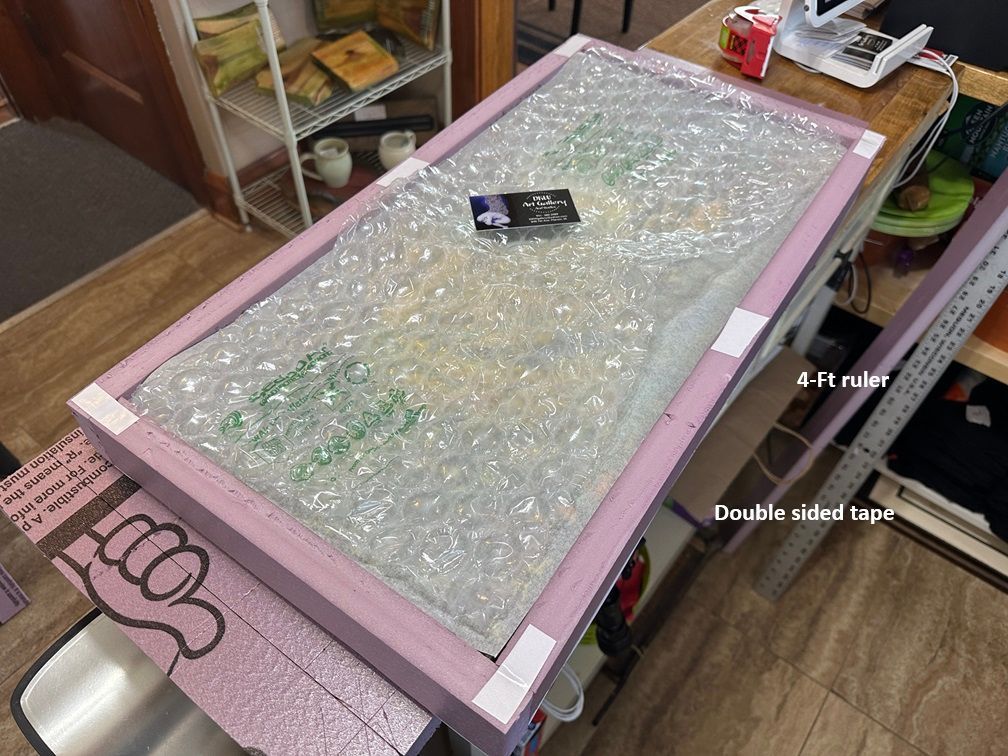
- Straight edge. A ruler or some form of marking the cutting line and then guiding the knife blade straight. I happen to have a metal 4' measure. I recommend either a wood ruler with a metal edge or similar. You will be guiding the sharp blade along the tool so it is easy to cut into it.
- Marker of some kind. Anything works from a pencil to a pen or thin magic marker.
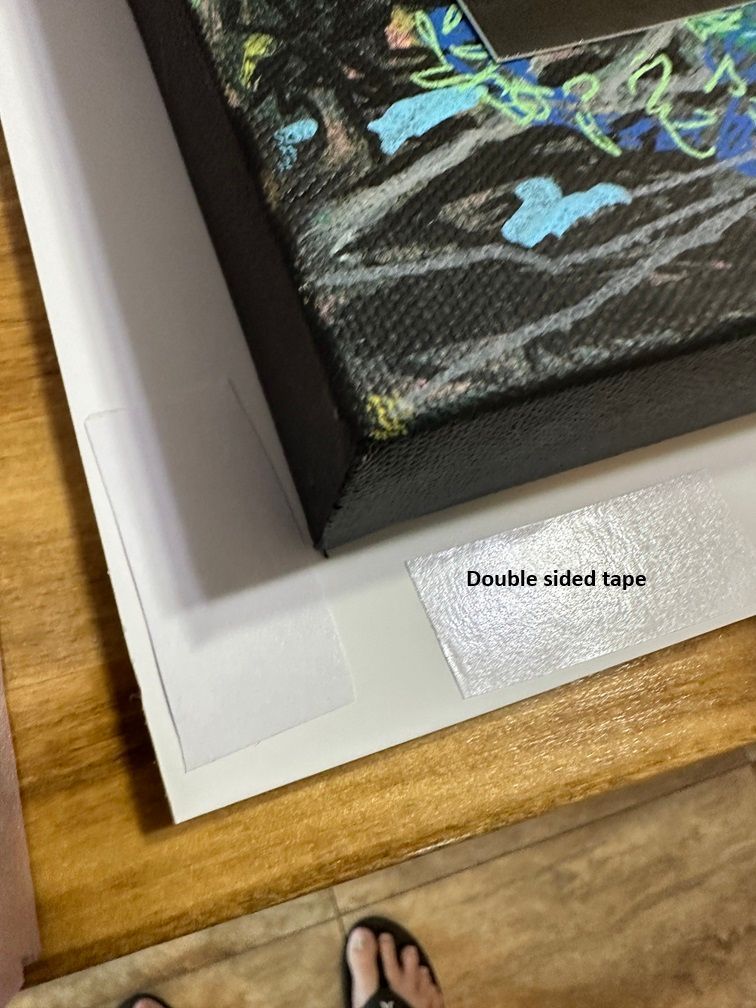
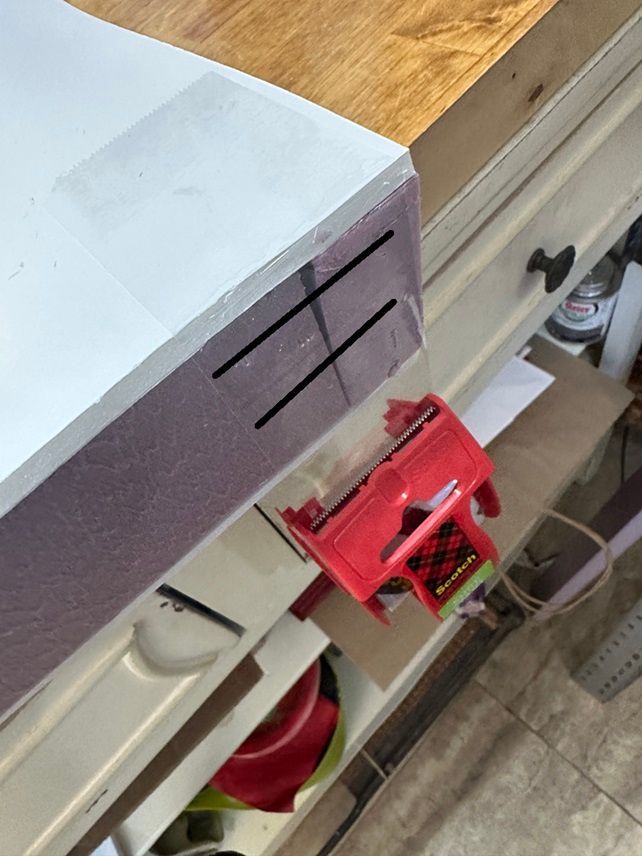
- Double-sided tape. You want the thin type. Some are cushioned or plastic and you do not want that. I use a tape that is 2" wide. I buy it either on Amazon or some office supply stores. Plug: I use "Best 2" Ultra-Thin Permanent Double-Sided Tape for Arts" by AJ Sign World on Amazon. It is 164feet/$15.60
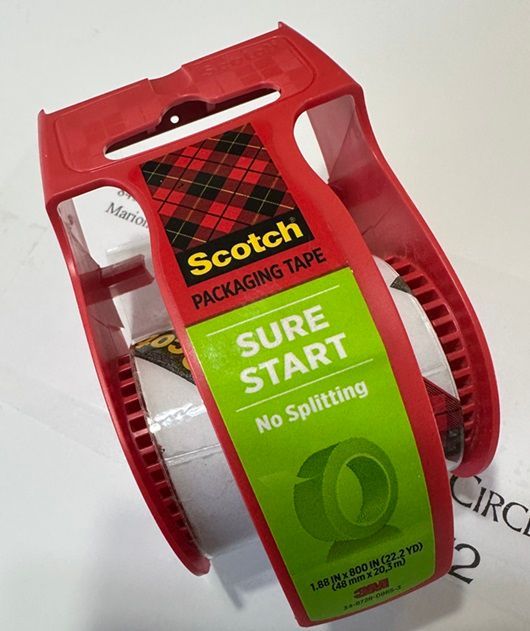
- Packing tape. Here is a plug for Scotch Sure Start Packing Tape. It is like the tape you can buy at the store but better. It does not rip and drive you craze trying to pick at it with your nails and ripping it more. If you buy a 6-pack through Amazon, it is about a dollar a roll. (last time I bought it) (The US postal service sells something similar at their counter if you only want one roll and not order from the big A.)
- Foamular insulating sheeting from Home Depot or other similar stores. This comes in 4 foot by 8 foot sheets. It also comes in 1/2", 1" and 2" thicknesses. (some places may have a 1 1/2") If you are like me, getting a 4x8 home is kind of hard. I even have a SUV. So I take my box knife and when I get it out to the car, I measure the opening and then cut it to fit that opening. Yep, some is wasted but can't be helped. You might use it on your next shipment anyway.
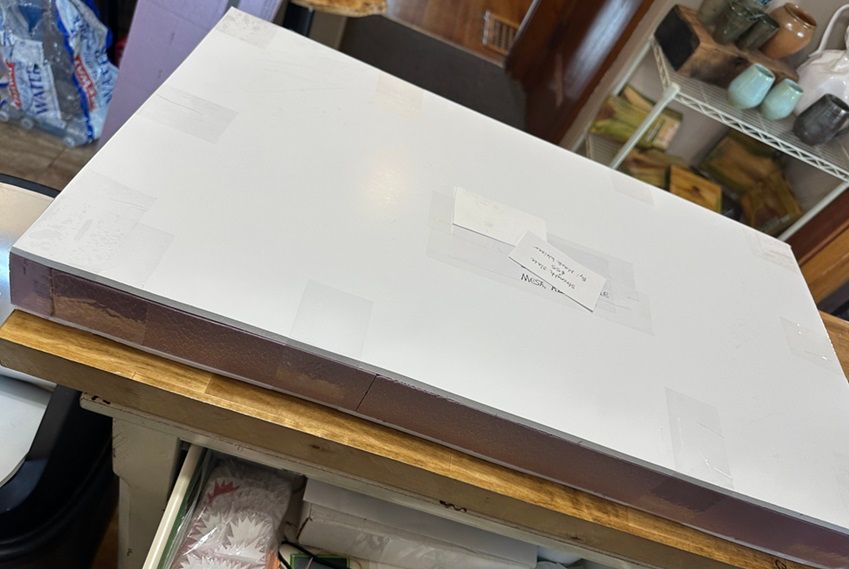
- Thin white foam craft board. I have found them at Michaels, Walmart and Dollar Tree Stores. Appox. 20" x 30" May vary a little from place to place. Dollar Tree and Walmart have the best price but they have a tendency to be out of stock a lot. I used the white foam board on this example here. It works fine to use on the art's top and bottom on artwork that is 24x36 and smaller. If it is larger, I recommend using the Foamular all around, sides, top and bottom.
- Sometimes toothpicks and/or foam glue.
- Labeling supplies.

These are just a few of the clients I work with.